 Vintage VW Cars
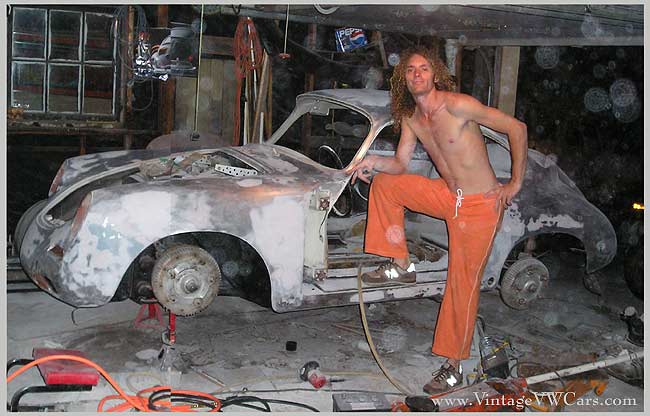
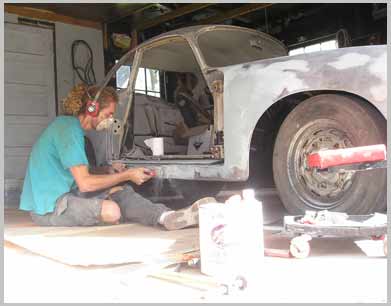
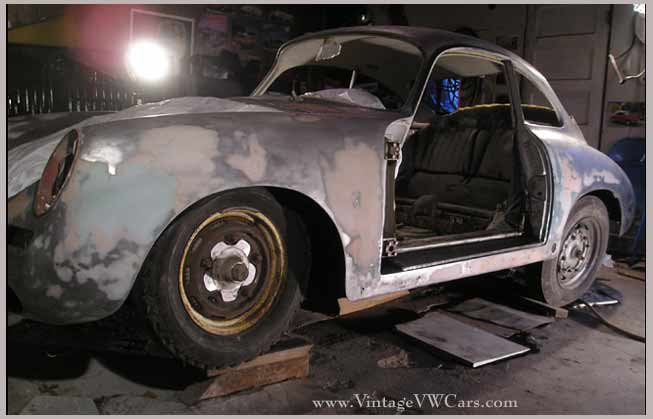
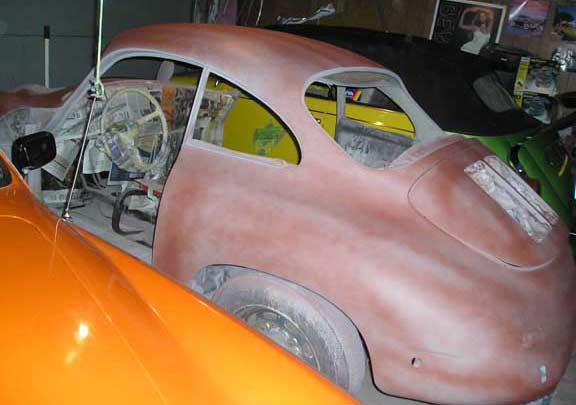
Once I got the car down to bare metal and hammered as straight as possible, it was time to add thin layers of filler to take care of any remaining low spots. Here’s July 26th, 2006 after another 9 hr day…I’m getting the car flat and smooth before I apply any primer. Here’s me after a shower.
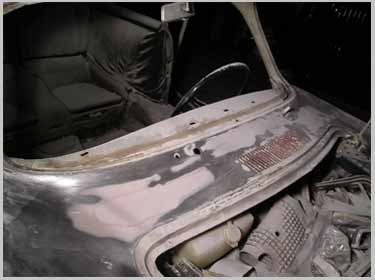
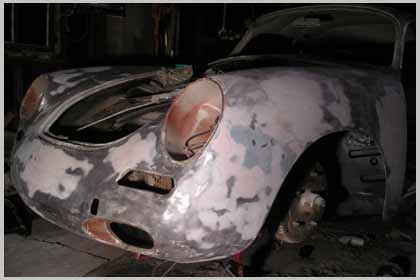
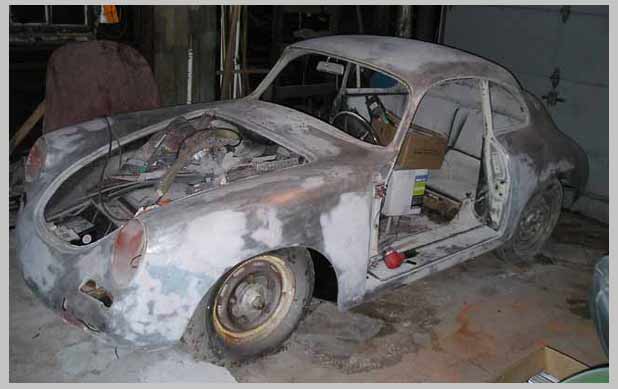
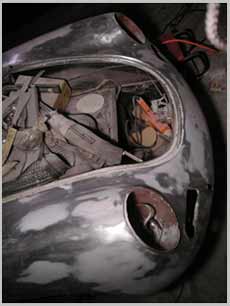
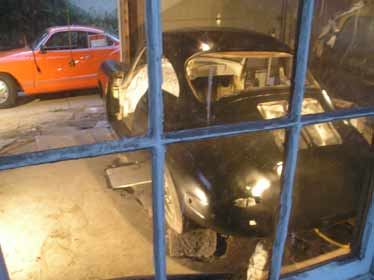
Once all of the welding was done I could put the car back on the ground. It had been up on jack stands for about 7 months!
This is why I needed a shower:
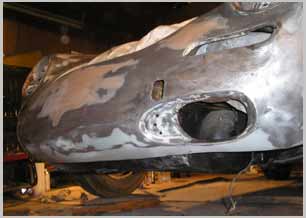
And this shot is right before priming with epoxy primer…


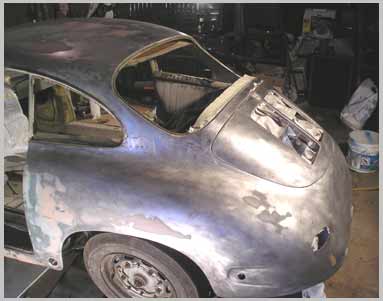
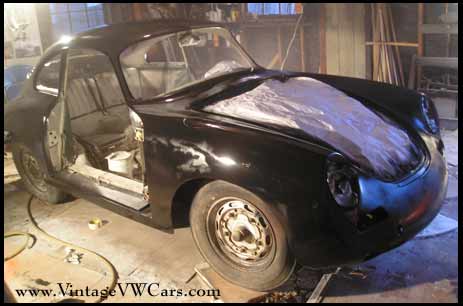
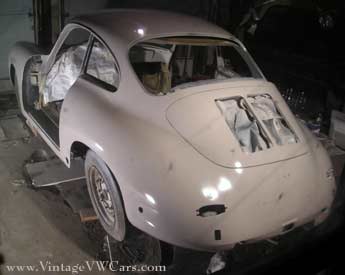
September 19th, 2006. I Finally got ‘er primed! (Funny how EVERY update starts with “Finally”, but man, this is a lot of work). The black is an epoxy self-etching primer.
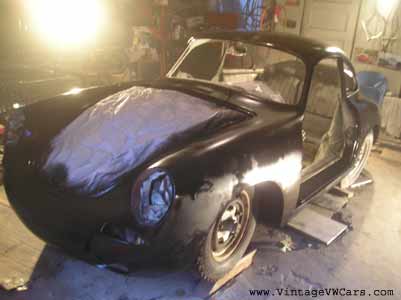
I followed that up 30 minutes later with 3 coats of Gray sandable Urethane primer. Boy–looks kinda shiny finally!

And next, the most colorful porsche restoration
page thus far, Page 6! Paint!